
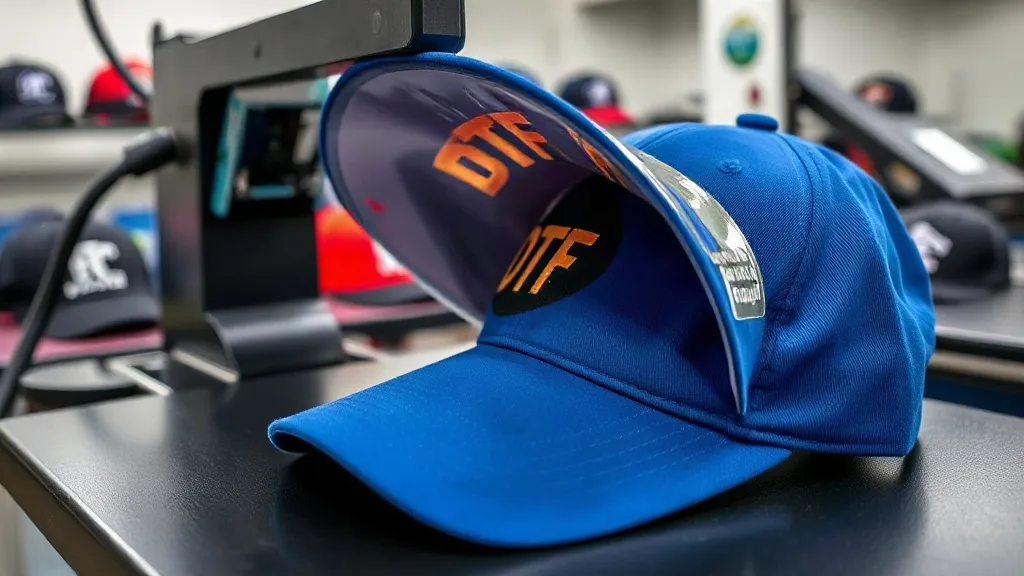
Applying dtf transfers to hats and caps can be tricky, but with the right approach, you can achieve professional-looking results every time. Whether you're a small print shop owner or a DIY enthusiast, this guide will walk you through the nuances of decorating curved headwear using DTF technology. We'll cover everything from choosing the right blanks to mastering the press, so you can avoid common pitfalls and deliver crisp, durable designs that your customers will love.
Why DTF Transfers Are Ideal for Hats
DTF (Direct to Film) printing has gained popularity for its versatility and ability to adhere to a wide range of fabrics. For hats, this is particularly beneficial because traditional methods like screen printing or embroidery can be challenging on curved surfaces and certain materials. DTF transfers offer a solution that works well on cotton, polyester, and blends, and they can handle intricate details and vibrant colors without the need for multiple screens or threads. Plus, the application process is relatively straightforward once you understand the basics.
Choosing the Right Hat Blanks for DTF
Not all hats are created equal when it comes to DTF transfers. The fabric composition and structure of the hat will significantly affect how well the transfer adheres and how long it lasts. Here's what to consider:
Fabric Type
DTF transfers work best on fabrics with a smooth surface. Cotton and cotton-poly blends are generally safe bets. However, some hats have a rough or textured surface, such as corduroy or heavy canvas, which can make adhesion more difficult. For these, you may need to adjust your pressing parameters or consider a different decoration method. Polyester hats can also work, but be mindful of heat sensitivity; lower temperatures may be necessary to avoid scorching.
Hat Structure
The structure of the hat, including the seams and the curve of the crown, can pose challenges during pressing. Structured hats with a stiff front panel (like baseball caps) provide a firm surface for pressing, which is ideal. Unstructured hats or those with soft crowns may require additional support to ensure even pressure. Also, consider the location of seams; pressing over a thick seam can cause uneven transfer or damage to the hat. It's often best to place the design away from seams or use a pressing pillow to compensate.
Preparing the Hat for Pressing
Proper preparation is key to a successful DTF application. Before you press, make sure the hat is clean and free of any debris. Lint or dust can prevent the transfer from adhering properly. Use a lint roller or a soft brush to remove any particles. Additionally, pre-press the hat for a few seconds to remove moisture and wrinkles. This step also helps to stabilize the fabric. For best results, use a pressing pillow or a hat press attachment that conforms to the shape of the hat, ensuring even pressure across the curved surface.
Setting Up Your Heat Press
Your heat press setup is critical for DTF transfers on hats. Unlike flat garments, hats require a press that can accommodate their three-dimensional shape. A dedicated hat press is ideal, but if you don't have one, you can use a regular heat press with a pressing pillow or a specialized hat platen. Here are the key parameters to consider:
- Temperature: Typically, DTF transfers are pressed at around 300°F to 325°F (150°C to 160°C). However, always check the transfer supplier's recommendations, as different films may have specific requirements. For hats, it's often safer to start at a slightly lower temperature to avoid damaging the hat's structure or causing scorch marks.
- Pressure: Medium to firm pressure is necessary for good adhesion, but too much pressure can flatten the hat's shape or cause the transfer to shift. Adjust your press to apply even pressure without compressing the hat excessively. If using a hat press, follow the manufacturer's guidelines.
- Time: Press time usually ranges from 10 to 15 seconds for the initial press, followed by a peel and a second press of 5 to 10 seconds. Again, refer to the transfer instructions for exact times.
Step-by-Step Application Process
Now that you have your hat and press ready, let's walk through the application process:
- Pre-press the hat: Place the hat on the press with the design area flat and smooth. Pre-press for 3-5 seconds to remove moisture and wrinkles. This step also helps to stabilize the fabric.
- Position the transfer: Place the DTF transfer on the hat with the printed side facing down. Ensure it's centered and straight. Use heat-resistant tape if needed to hold it in place, but be careful not to tape over the design area.
- Press: Close the press and apply medium-firm pressure for the recommended time (usually 10-15 seconds).
- Peel: Carefully peel the film off while it's still hot (hot peel) or after it cools (cold peel), depending on the transfer type. Most DTF transfers are hot peel, but always follow the supplier's instructions.
- Post-press: For added durability, cover the design with a Teflon sheet or parchment paper and press for another 5-10 seconds. This helps to embed the ink into the fabric.
Troubleshooting Common Issues
Even with careful preparation, you might encounter some issues. Here's how to address them:
Transfer Not Adhering
If the transfer doesn't stick, it could be due to insufficient pressure, temperature, or time. Check your press settings and ensure the hat is properly supported. Also, make sure the fabric is clean and dry. If the hat has a water-repellent coating, it may need to be washed first.
Design Cracking or Peeling
Cracking after washing often indicates incomplete fusion. Try increasing the post-press time or pressure. Also, ensure you're using a quality transfer and following the wash instructions (wait 24 hours before washing, wash inside out, etc.).
Scorching or Discoloration
This happens when the temperature is too high or the press is left on the fabric for too long. Lower the temperature and shorten the press time. Use a Teflon sheet to protect the fabric.
Finding Quality DTF Transfers Near You
If you're looking for dtf transfers near me, it's essential to source from a reputable supplier who provides consistent quality. Local suppliers can offer faster turnaround times and personalized service. When evaluating a supplier, ask about their ink and film quality, and request samples to test before committing to a large order. Online reviews and word-of-mouth recommendations can also guide you to trustworthy sources.
Best Practices for Long-Lasting Results
To ensure your DTF-printed hats stand up to wear and tear, follow these best practices:
- Always pre-press the hat to remove moisture.
- Use a pressing pillow to maintain the hat's shape and ensure even pressure.
- Follow the transfer supplier's recommended settings for temperature, pressure, and time.
- Allow the hat to cool completely before handling.
- Instruct customers to wash hats inside out in cold water and air dry to prolong the life of the print.
Frequently Asked Questions
Can I use DTF transfers on all types of hats?
DTF transfers work on most fabrics, but results may vary. Smooth cotton and poly blends are ideal. Rough textures or heavily structured hats may require adjustments or alternative methods.
How do I prevent the transfer from peeling off after washing?
Ensure proper adhesion by using the correct temperature, pressure, and time. Post-press the design for added durability. Wait 24 hours before washing, and always wash inside out in cold water.
What is the best way to press a hat without a hat press?
Use a pressing pillow or a folded towel to support the hat's curve inside a regular heat press. Apply even pressure and consider using a heat-resistant tape to hold the transfer in place.
How long do DTF transfers last on hats?
With proper application and care, DTF transfers can last as long as the hat itself. Following wash instructions and avoiding high heat when drying will extend the life of the print.
Can I layer DTF transfers on a hat?
Yes, you can layer DTF transfers, but it's more challenging on curved surfaces. Press each layer separately, allowing it to cool before applying the next. Use a Teflon sheet to protect the design.