
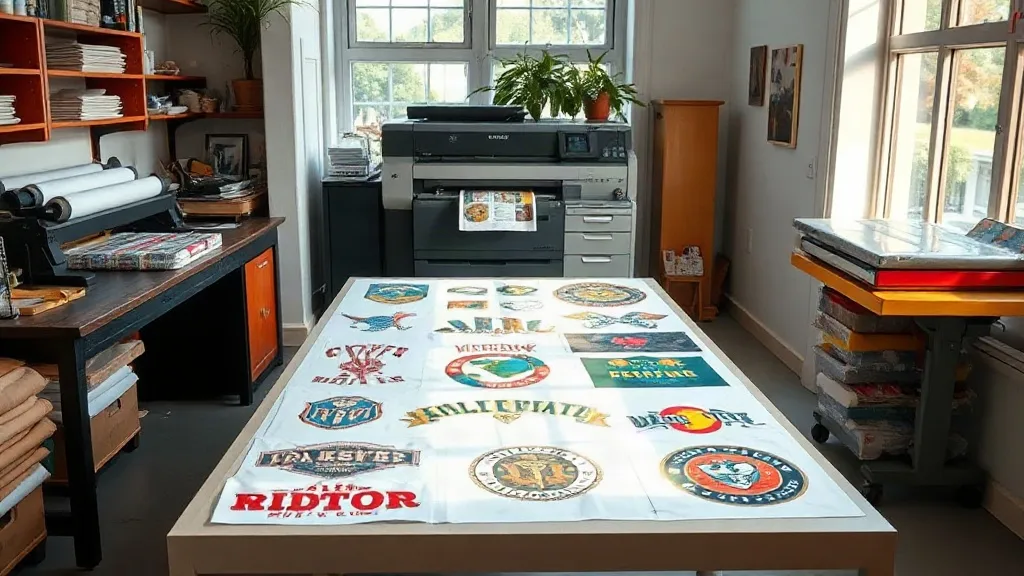
When a customer orders twenty shirts with five different designs, the last thing you want is to run five separate DTF prints. That's where a DTF Gangsheet becomes your best friend. By arranging multiple designs on a single sheet, you cut film waste, reduce printer time, and streamline pressing. But like any tool, the results depend on how you use it. This guide walks you through the practical side of gangsheets: planning, nesting, and pressing for efficient multi-design jobs.
Why gangsheets make sense for multi-design orders
Traditional DTF printing means one sheet per design, which is fine for single-design runs. But when you have a mix of sizes and artworks, printing each separately wastes film, powder, and time. A gangsheet lets you combine everything onto one large sheet, maximizing the printable area. The savings add up quickly: less film used per job, fewer printer passes, and faster cutting and pressing. Plus, you can nest designs tightly to squeeze more onto each sheet.
Film waste: the hidden cost
Film is one of the biggest consumables in DTF printing. If you print a small logo on a standard sheet, you're paying for all that empty space. With a gangsheet, you fill that space with other designs, reducing your cost per print. Over hundreds of jobs, that adds up.
Time savings: one sheet, many designs
Every time you load a sheet, you go through the same steps: print, powder, cure. Doing that for each design separately multiplies the work. A gangsheet consolidates the process, so you spend less time babysitting the printer and more time pressing.
Planning your gangsheet layout
Before you fire up the printer, take a few minutes to plan. A well-thought-out layout prevents headaches later.
Gather all designs and sizes
Start by collecting every design and the quantity needed for each size. If a design appears on multiple sizes, you might need to scale it accordingly. Group similar sizes together to make nesting easier.
Choose the right sheet size
Gangsheets come in various widths, typically matching your printer's maximum print width. Common widths are 13, 17, and 24 inches. Pick a sheet that accommodates your designs without excessive empty space. If you're printing many small designs, a narrower sheet might be more efficient; for larger designs, go wider.
Use nesting software or manual nesting
Nesting is the art of arranging designs to minimize wasted space. You can do this manually in your design software or use dedicated nesting tools. The goal is to fit as many designs as possible onto the sheet while leaving a small gap between them for cutting.
Nesting tactics that cut waste
Efficient nesting can significantly reduce film usage. Here are some practical tactics.
Rotate and align
Don't be afraid to rotate designs to fill gaps. A design that's wider than it is tall might fit better sideways. Align edges where possible to create straight cut lines.
Group similar sizes
If you have multiple designs of the same size, cluster them together. This makes cutting faster and reduces the chance of mistakes.
Leave a small margin
Leave about 0.25 inches between designs for cutting. Too little and you risk cutting into the design; too much and you waste space.
Consider the cut path
Plan your cut lines to minimize scissor time. A straight cut across multiple designs is faster than cutting around each one individually.
Pressing workflow for multi-design jobs
Once your gangsheet is printed and cured, it's time to press. A systematic approach keeps you organized and prevents errors.
Cut and sort
Cut the designs apart, but keep them sorted by garment size or order. Use small bins or envelopes to keep designs for each shirt separate. Label them if necessary.
Press in batches
If you have multiple shirts with the same design, press them in batches. Set up your press once and run through the batch. This reduces temperature fluctuations and speeds up the process.
Check placement
For multi-design jobs, placement consistency is key. Use a placement guide or template to ensure each design lands in the same spot on every shirt. A small ruler or laser guide helps.
Common mistakes to avoid
Even experienced printers slip up. Watch out for these pitfalls.
- Overcrowding the sheet: Leaving too little space between designs makes cutting difficult and risks damaging the transfer.
- Ignoring grain direction: Some designs have a direction (like text). Rotating them might make them unreadable.
- Forgetting to mirror: DTF transfers are printed mirrored, so ensure your designs are flipped before printing.
- Inconsistent powdering: Too much powder leads to a rough feel; too little causes curing issues. Aim for an even coat.
Tools that make gangsheet work easier
While you can manage with basic software, a few tools can streamline the process.
- Nesting software: Programs like Sure Cuts A Lot or dedicated RIP software often include nesting features.
- Cutting machines: A vinyl cutter with a roll feeder can automate cutting, saving time on large gangsheets.
- Heat press with laser guide: Ensures consistent placement across many shirts.
Frequently asked questions
What is a DTF gangsheet?
A DTF gangsheet is a single sheet of DTF film that contains multiple designs arranged together. It's used to print several designs in one pass, saving time and reducing film waste.
How do I calculate the cost savings of using a gangsheet?
Compare the film area used per design when printed separately versus the area used on a gangsheet. The difference in film consumption, plus the time saved, gives you the savings. Typically, gangsheets reduce film usage by 20-30% for multi-design orders.
Can I mix different design sizes on one gangsheet?
Absolutely. That's one of the main benefits. Just ensure you nest them efficiently and leave enough space for cutting.
What's the best way to cut a gangsheet?
Use a sharp pair of scissors or a rotary cutter with a straight edge. For large volumes, a vinyl cutter with a roll feeder can automate the process. Always cut on a clean, flat surface.
How do I store leftover gangsheet pieces?
Store them flat in a dust-free container, away from direct sunlight. Avoid folding or creasing the transfers, as this can damage the adhesive.