
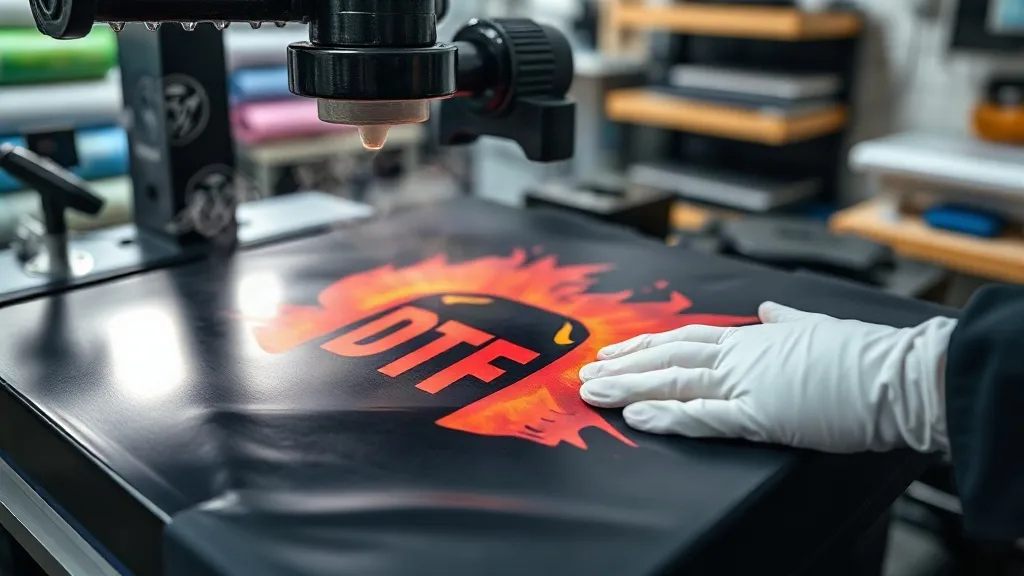
Water-repellent jackets are a staple for outdoor brands, workwear lines, and team gear, but decorating them with dtf transfers can be a headache. The same coating that keeps rain out often keeps your transfer from sticking. In this guide, I'll walk you through the specific challenges of pressing dtf onto DWR (durable water repellent) fabrics, from surface prep to curing, so you can take on these jobs with confidence and deliver prints that survive real-world abuse.
Why Water-Repellent Jackets Resist DTF Transfers
Most water-repellent jackets use a fluoropolymer or silicone-based finish applied to the fabric surface. This finish lowers surface energy, which means adhesives struggle to wet out and form a strong bond. Standard dtf transfer powder is designed for cotton, polyester, and blends with relatively high surface energy. On a DWR-coated nylon or polyester shell, the adhesive can fail to penetrate the weave, leading to peeling, cracking, or complete transfer failure after a few washes.
I learned this the hard way on a batch of 50 softshell jackets for a local hiking club. The first press looked perfect, but after a week of wear, edges were lifting. The fix wasn't a different transfer; it was a different prep routine.
Identifying the Fabric and Finish
Before you press anything, know what you're working with. Water-repellent jackets come in several flavors:
- DWR-coated nylon or polyester: Common on lightweight rain shells. The coating is usually on the face fabric.
- Silicone-impregnated fabrics: Often found on premium outdoor gear. These are extremely low-energy surfaces.
- Laminated membranes: The waterproof layer is inside, but the face fabric may still have a DWR finish.
- Waxed cotton: Not water-repellent in the same way, but the wax can interfere with adhesion.
Check the care label or test a small area. If water beads up and rolls off, you're dealing with a DWR finish. That's your cue to adjust your process.
Preparing Water-Repellent Jackets for DTF
The goal of prep is to temporarily reduce surface energy without damaging the fabric's water-repellent properties. You don't want to strip the DWR completely; you just need a window of adhesion.
1. Gentle Surface Abrasion
Lightly scuff the print area with a fine-grit sandpaper (800-1000 grit) or a Scotch-Brite pad. This creates microscopic scratches that increase mechanical grip. Don't overdo it; you're not trying to remove the finish, just give the adhesive something to bite into.
2. Solvent Wipe
Wipe the area with isopropyl alcohol (70% or higher) on a clean lint-free cloth. This removes oils and surface contaminants. Some printers use a mild detergent solution followed by a water rinse, but you must let the garment dry completely before pressing. Avoid harsh solvents that could damage the DWR coating.
3. Pre-Press to Remove Moisture
Even after wiping, fabrics can hold moisture. Pre-press the garment for 5-10 seconds at 300°F (150°C) to drive off any residual moisture. This also helps relax the fabric for better transfer contact.
Pressing Parameters That Work
Water-repellent fabrics often require higher heat and longer dwell times than standard cotton. Here's a starting point, but always test on a scrap piece first.
- Temperature: 320-340°F (160-170°C). Higher temps can damage the DWR or the fabric itself, so stay at the lower end if possible.
- Pressure: Medium to high (40-60 psi). You need firm pressure to push the adhesive into the textured surface.
- Time: 15-20 seconds for the initial press. Peel cold or warm? For DWR fabrics, cold peel is usually safer to avoid stretching the fabric.
- Second press: After peeling the carrier film, press again for 5-10 seconds with a Teflon sheet or parchment paper to smooth the print and ensure full adhesion.
Always use a heat press, not an iron. Consistent pressure and temperature are critical.
Troubleshooting Common Issues
Transfer Peels After Washing
This is the most common complaint. If the transfer lifts at the edges after a wash, it's usually due to insufficient prep or too low a pressing temperature. Try increasing the dwell time by 5 seconds and ensure you've abraded the surface adequately. Also, check that the garment was completely dry before pressing.
Adhesive Residue Around the Print
On some DWR fabrics, the adhesive can bleed out beyond the design, creating a shiny halo. This happens when pressure is too high or the transfer is over-pressed. Reduce pressure slightly and use a Teflon sheet to contain the adhesive.
Print Looks Dull or Patchy
If the colors appear muted, the transfer may not have bonded fully. Try a second press with a Teflon sheet. If that doesn't work, the surface energy might still be too low; revisit your prep steps.
Choosing the Right DTF Transfers for Outerwear
Not all dtf transfers are created equal. For water-repellent jackets, look for transfers with a high-quality adhesive powder that is designed for technical fabrics. Some suppliers offer a "low-energy" powder specifically for DWR coatings. If you're sourcing dtf transfers near me, ask about compatibility with water-repellent materials. A reputable supplier will provide technical data sheets and may offer samples for testing.
Wash and Care Recommendations for Your Customers
Even with a perfect press, the longevity of the print depends on how the jacket is cared for. Advise your customers to:
- Wash inside out in cold water on a gentle cycle.
- Avoid fabric softeners and bleach.
- Tumble dry on low or hang dry. High heat can degrade the DWR and the transfer adhesive.
- Reapply DWR spray after several washes to maintain water repellency, but avoid spraying directly on the print.
Providing these instructions shows professionalism and reduces returns.
Frequently Asked Questions
Can I use DTF transfers on any water-repellent jacket?
Most DWR-coated fabrics can work with DTF if prepped correctly, but silicone-impregnated fabrics are notoriously difficult. Always test on a hidden area first.
How do I prevent the transfer from cracking when the jacket is stretched?
Use a transfer with a flexible adhesive and avoid over-pressing, which can make the print brittle. Also, choose designs with rounded edges rather than sharp corners.
What's the best way to remove a failed DTF transfer from a water-repellent jacket?
Reheat the transfer with a heat press or heat gun and peel it off while warm. Use a solvent like acetone sparingly to remove residue, but test first as it may damage the DWR.
Do I need a special heat press for water-repellent fabrics?
No special press is required, but you need one with accurate temperature control and consistent pressure. A swing-away press is ideal for even pressure distribution.
How long will a DTF transfer last on a water-repellent jacket?
With proper application and care, expect the print to last the life of the garment. However, heavy abrasion and frequent washing will shorten its lifespan.