
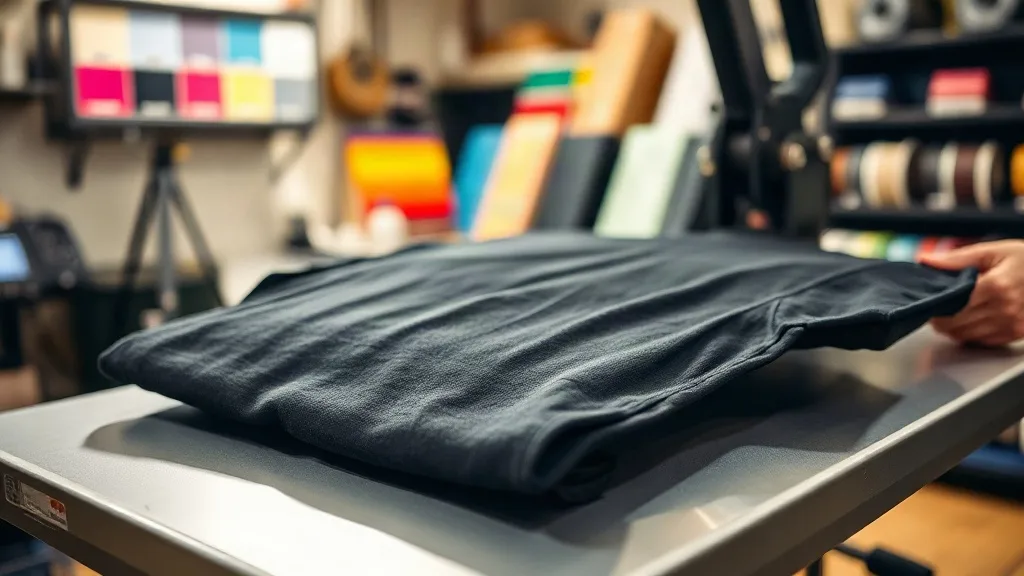
Walk into any print shop and you'll see the same thing: a stack of black tees waiting for decoration. Dark garments dominate custom apparel because they hide stains, flatter every wearer, and photograph well for online stores. But they also expose every weakness in your transfer process. White ink that looks solid on a proof can turn chalky on a black hoodie. Colors that pop on screen can go muddy on navy. And the adhesive that holds a transfer to a light gray shirt may fail on a dense, dark cotton weave.
That's why dtf transfers have become the go-to method for dark garments in shops that care about repeat business. The technology lays down a white ink base before the color layers, so you get opaque, vibrant results without the hand feel of a thick screen print. But getting flawless output on dark fabric requires more than loading a file and pressing a button. Below is the practical playbook I've refined over thousands of dark-garment jobs, from single custom orders to 500-piece team runs.
Why dark garments are the real test for DTF
On a white shirt, a dtf transfer has nowhere to hide. The white base is redundant, the colors sit directly on a bright surface, and even a slightly under-inked film looks acceptable. Flip that shirt to black and the rules change. The white ink layer now has to do two jobs: block the dark fabric from showing through and provide a neutral canvas for the CMYK colors above it. If that white layer is too thin, you get a grayish, washed-out print. If it's too thick, the transfer feels like a plastic patch and cracks after a few washes.
The sweet spot is a white layer that's opaque enough to hide the garment but thin enough to flex with the fabric. Most quality DTF film suppliers calibrate their white ink coverage for this balance, but your press settings and storage habits can undo that calibration. Humidity, for example, affects how the adhesive powder cures, and a poorly cured adhesive is the number one cause of transfers peeling off dark cotton after the first wash.
The opacity illusion
One mistake I see constantly: operators judge opacity by looking at the transfer on the backing film. A white base can look perfectly solid on the film and still print translucent on the shirt because the fabric texture interacts with the ink. Always do a test press on the actual garment you're printing. A 2-second press on a scrap piece of the same black tee tells you more than any spec sheet.
Color management for dark fabrics
Colors behave differently on dark backgrounds. A rich crimson that looks great on a white tee can turn brownish on black because the white base underneath isn't perfectly neutral. If your white ink has a slight blue or yellow cast, every color above it shifts. This is why color consistency across orders matters more on dark garments than on light ones.
Here's a workflow that keeps colors predictable:
- Profile your press and film combination. Print a small color target on your usual black blank, press it with your standard settings, and compare it to your on-screen proof. Adjust your RIP software's ink limits until the output matches.
- Use a consistent white ink batch. Switching film suppliers mid-job is a recipe for color drift. If you must switch, re-profile.
- Boost saturation slightly for dark garments. Colors lose perceived vibrancy against black, so a 5-10% saturation bump in your RIP settings often brings the final print closer to what the customer expects.
- Check for metamerism. Some color pairs look matched under shop lighting but diverge in daylight. View your test press under both.
If you're ordering transfers rather than printing in-house, ask your supplier how they handle dark-garment color profiles. A good provider will have a standard operating procedure for it, not just a generic "we print what you send" policy.
Choosing the right blanks for dark DTF
Not all dark garments are created equal. The fabric weave, dye content, and finish all affect how a transfer adheres and how it looks after washing.
Cotton and cotton blends
100% cotton takes DTF beautifully, but dark cotton dyes can bleed if the shirt wasn't properly dyed or washed before printing. Cheap black tees sometimes have surface dye that transfers onto the white ink layer during pressing, giving the print a gray haze. A quick pre-press with a heat press (5 seconds, light pressure) can remove surface moisture and stabilize the dye. If you see dye transfer on your press sheet, that shirt needs a longer pre-press or a different supplier.
Polyester and performance fabrics
Dark polyester is trickier. The fabric can scorch at temperatures that are fine for cotton, and some polyester dyes sublimate into the transfer adhesive when heated. Use lower press temperatures (around 280-300°F instead of 320-340°F) and shorter dwell times. A cover sheet between the transfer and the press platen helps distribute heat evenly and protects the print.
Fleece and heavyweight knits
Dark hoodies and crewnecks have a loft that resists even pressure. If your press doesn't apply consistent pressure across the platen, the transfer will adhere well in the center and poorly at the edges. Use a pressing pillow or a thicker cover sheet to compensate for the fabric's uneven surface. And always press the garment flat before adding the transfer so you're not fighting wrinkles.
Pressing parameters that actually work on dark garments
Every press and every film brand has its own recommended settings, but here's a starting point that has served me well across multiple shops:
- Pre-press the garment: 5-8 seconds at full temperature to remove moisture and flatten the fabric.
- Position the transfer: Place it with the adhesive side down. Use heat-resistant tape if the design tends to shift.
- Press: 15-20 seconds at 320-340°F for cotton, 280-300°F for polyester, with medium to firm pressure.
- Peel: Wait 5-10 seconds for a warm peel, or let it cool completely for a cold peel. Follow your film's instructions; peeling too hot can stretch the print.
- Post-press: Cover with a Teflon sheet or parchment and press for another 5-10 seconds to lock in the adhesive and smooth any texture.
The post-press step is often skipped, but it's especially important on dark garments because it forces the adhesive into the fabric's valleys. Without it, you may see edge lifting after a few washes.
Wash durability: what to tell your customers
Customers judge a print by how it looks after ten washes, not on day one. Dark garments are unforgiving because any cracking or fading is immediately visible against the dark background. To maximize durability:
- Wash inside out in cold water.
- Avoid fabric softener, which can degrade the adhesive.
- Tumble dry low or hang dry.
- Don't iron directly on the print.
These instructions aren't just boilerplate; they're the difference between a repeat customer and a complaint. Include a care card with every dark-garment order. It costs pennies and signals professionalism.
When to outsource your dark-garment transfers
If you're a small shop or a brand without in-house printing, ordering dtf transfers from a specialist lets you skip the learning curve and the equipment investment. The key is choosing a supplier who understands dark-garment challenges. Ask about their white ink laydown, their recommended press settings for different fabric types, and whether they offer sample packs so you can test before committing to a large order.
If you're searching for dtf transfers near me, prioritize providers who ship quickly and offer gangsheet options. A gangsheet lets you combine multiple designs on one sheet, which is ideal for dark-garment jobs where you're printing several small logos or names on the same fabric color. You get consistent quality across the whole order and lower per-unit costs.
One more tip: order a few extra transfers with every batch. Dark garments have a way of revealing defects that light garments hide, and having spares on hand means you can replace a flawed piece without delaying the whole job.
Frequently asked questions
Can I use DTF transfers on black polyester shirts without the print looking dull?
Yes, but you need to adjust your press settings and your color expectations. Lower temperatures (280-300°F) prevent the polyester from scorching and reduce dye migration. Use a white ink base with good opacity, and consider a slightly higher saturation in your color profile. Test on a scrap piece of the same fabric before running the full order.
Why do my DTF transfers crack on dark hoodies after a few washes?
Cracking usually comes from one of three issues: insufficient pressure during pressing, a white ink layer that's too thick and inflexible, or inadequate post-pressing. Make sure your press applies even pressure across the whole design, use a pressing pillow for fleece, and always do the final 5-10 second post-press with a cover sheet. Also confirm that the adhesive powder was fully cured by your supplier.
How do I prevent dye migration from dark fabric into the transfer?
Pre-press the garment for 5-8 seconds to remove surface dye and moisture. For polyester, use a lower temperature and a cover sheet. If you're ordering transfers, ask your supplier whether they use a dye-blocking adhesive or recommend a specific press protocol for dark synthetics.
What's the best way to store DTF transfers for dark garments before pressing?
Keep them flat, dry, and away from direct sunlight. Humidity is the enemy of adhesive powder, so store transfers in a sealed bag with a desiccant pack if your shop is damp. Don't stack heavy items on top of them, as creases in the film can transfer to the print.
Can I mix dark and light garments in the same gangsheet order?
Absolutely. Gangsheets are organized by design, not by garment color. Just make sure you communicate the fabric types to your supplier so they can recommend the right film and adhesive for the job. If you're printing in-house, run separate test presses for each fabric type before starting production.