
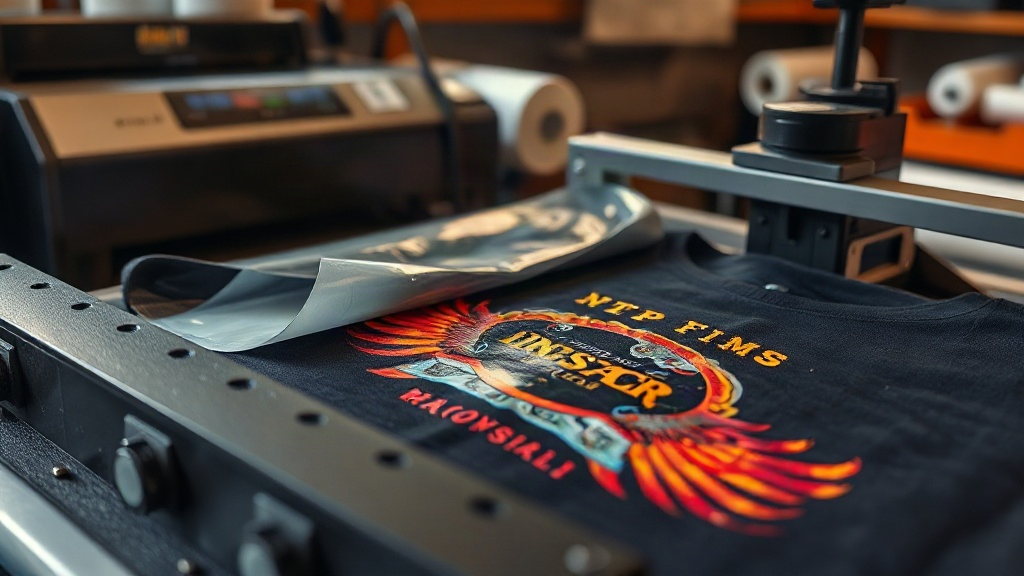
When it comes to custom apparel, DTF transfers have quickly become a game-changer for both small businesses and DIY enthusiasts. Unlike traditional screen printing or vinyl, DTF (Direct to Film) transfers offer unmatched versatility, allowing you to print full-color designs on a wide range of fabrics with incredible detail. Whether you're running a custom t-shirt shop or just want to personalize your own wardrobe, understanding DTF transfers can open up a world of creative possibilities.
In this guide, we'll walk you through everything you need to know about DTF transfers: how they work, why they're so popular, and how to apply them like a pro. By the end, you'll be ready to incorporate this innovative technique into your next project.
What Are DTF Transfers?
DTF stands for Direct to Film. It's a printing method where your design is printed onto a special film using water-based inks, then coated with a adhesive powder. The film is then cured and can be stored until you're ready to apply it to a garment. When you're ready, you heat press the transfer onto the fabric, and the adhesive melts, bonding the design permanently.
What sets DTF apart is its ability to print on virtually any fabric, including cotton, polyester, blends, and even nylon. No pre-treatment is required, and you don't need to worry about color limitations like you do with screen printing. This makes DTF transfers an incredibly efficient solution for short runs, complex designs, and on-demand production.
How DTF Transfers Work: Step by Step
Understanding the DTF process helps you appreciate its simplicity and effectiveness. Here's a breakdown of the key steps:
- Design Preparation: Create your artwork in a graphic design software. Ensure it's mirrored if necessary, though most DTF printers handle this automatically.
- Printing: The design is printed onto a PET film using a DTF printer with CMYK+White inks. The white ink layer is crucial for opacity on dark fabrics.
- Powdering: While the ink is still wet, a hot-melt adhesive powder is applied evenly over the print. Excess powder is shaken off.
- Curing: The film passes through a curing oven or heat press to melt the powder, creating a dry, ready-to-use transfer.
- Application: The transfer is placed on the garment and heat pressed. After cooling, the film is peeled away, leaving a vibrant, durable design.
Each step is straightforward, but attention to detail ensures professional results. For instance, curing temperature and time must be precise to avoid clogging or poor adhesion.
Why Choose DTF Transfers Over Other Methods?
DTF transfers offer several compelling advantages that make them stand out:
- No Color Limits: Unlike vinyl or screen printing, DTF can reproduce full-color photographs and gradients with ease.
- Fabric Versatility: Works on cotton, polyester, blends, leather, and more. No need for different transfer types.
- Durability: When applied correctly, DTF prints resist cracking, peeling, and fading even after multiple washes.
- Cost-Effective for Short Runs: No setup fees or minimum orders, making it ideal for small businesses and personalization.
- Soft Hand Feel: Modern DTF inks and powders result in a smooth, flexible print that doesn't feel rubbery.
These benefits have made DTF transfers a favorite among apparel decorators looking to offer high-quality custom products without heavy investment in equipment.
Choosing the Right DTF Supplies
To achieve great results, you need quality supplies. Here's what to look for:
DTF Printer and Inks
Invest in a reliable DTF printer that supports white ink and has a good resolution. Pigment inks designed specifically for DTF ensure vibrant colors and durability. Brands like Epson with DTF conversions are popular, but dedicated DTF printers are also available.
PET Film
Not all films are created equal. Use a high-quality PET film designed for DTF. It should handle the ink and powder without warping or releasing prematurely.
Adhesive Powder
The powder is the glue that bonds the design to the fabric. Choose a fine, consistent powder that melts evenly. Polyamide powders are common, but TPU powders offer flexibility.
Step-by-Step Application Guide
Applying DTF transfers is simple, but following best practices ensures a long-lasting result. Here's how:
- Preheat the Garment: This removes moisture and wrinkles. Set your heat press to the recommended temperature (usually 300-325°F).
- Position the Transfer: Place the transfer on the garment with the printed side up. Use heat tape if needed to secure it.
- Press: Apply medium pressure for 10-15 seconds. Check your transfer supplier's instructions for exact settings.
- Peel: Wait for the transfer to cool completely before peeling the film. This is called a cold peel. Some transfers require hot peel, so always verify.
- Post-Press: For extra durability, cover the design with a Teflon sheet and press again for 5-10 seconds.
With practice, you'll be able to apply DTF transfers quickly and consistently.
Common Mistakes to Avoid
Even with a straightforward process, some pitfalls can ruin your results:
- Insufficient Pressure: Leads to poor adhesion. Make sure your heat press applies even pressure.
- Wrong Temperature: Too hot and the film may melt; too cold and the powder won't activate.
- Peeling Too Early: Always let the transfer cool before peeling to prevent design distortion.
- Using Low-Quality Powder: Cheap powder can cause clogging or weak bonds.
Avoiding these mistakes will save you time and materials.
DTF Transfers vs. Other Printing Methods
How does DTF stack up against other popular techniques?
- Screen Printing: Better for large orders of simple designs, but DTF wins for complex, multi-color jobs without setup costs.
- Heat Transfer Vinyl (HTV): Great for single-color designs, but DTF handles gradients and photos effortlessly.
- Direct to Garment (DTG): Only works on cotton, while DTF works on almost any fabric. DTG also requires pretreatment.
- Sublimation: Limited to polyester and light colors, whereas DTF excels on dark cottons.
For versatility and quality, DTF transfers are hard to beat.
Frequently Asked Questions About DTF Transfers
How long do DTF transfers last?
When applied correctly and washed inside out in cold water, DTF transfers can last 50+ washes without fading or cracking. Proper care extends their life significantly.
Can I use DTF transfers on dark shirts?
Absolutely! DTF transfers include a white ink layer that makes colors pop on dark fabrics. This is one of their biggest advantages over other methods.
Do I need a special printer for DTF?
Yes, you need a DTF printer that uses pigment inks and white ink. However, you can also buy pre-printed DTF transfers from suppliers if you don't want to invest in a printer.
What fabrics work best with DTF transfers?
DTF works on cotton, polyester, blends, nylon, leather, and more. It's not recommended for fabrics with a heavy waterproof coating or those that can't withstand heat.
Is DTF printing cost-effective for small businesses?
Yes, DTF is very cost-effective for short runs because there are no minimums or setup fees. You only pay for the supplies you use, making it ideal for on-demand printing.
With this knowledge, you're ready to explore the world of DTF transfers and elevate your custom apparel game. Whether you're a hobbyist or a pro, this technology offers endless possibilities for creativity and quality.